How to Remove Accounts & Erase Data
A step-by-step guide to erase personal data before donating devices to Phones For Veterans.
Select the type of device below
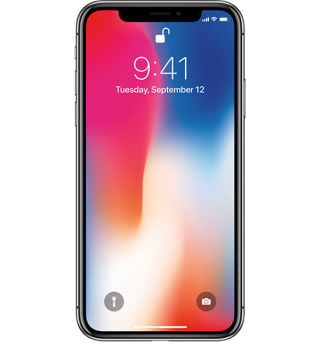
Erase iPhone Data
🔒 1. Back Up Your Data (Optional but Recommended)
Before wiping, back up your data via iCloud or iTunes/Finder:
iCloud: Go to Settings > [your name] > iCloud > iCloud Backup > Back Up Now.
iTunes/Finder: Connect iPhone to a computer and select Back Up Now.
📤 2. Sign Out of iCloud, iTunes & App Store
This removes Activation Lock, which is essential:
Go to Settings > [your name] > Scroll down and tap "Sign Out".
Enter your Apple ID password and confirm.
🔄 3. Erase All Content and Settings
This permanently deletes your data and resets the device:
Go to Settings > General > Transfer or Reset iPhone > Erase All Content and Settings.
Enter your passcode or Apple ID password if prompted, then confirm.
🔁 4. Wait for the iPhone to Reset
Once complete, the iPhone will restart and display the setup screen—now safe to donate.
✅ 5. (Optional) Remove Device from Apple ID (if not already done)
Go to iCloud.com > Find iPhone > Select your device > Remove from Account.
Erase Android Device
✅ 1. Back Up Important Data (Optional but Recommended)
Before wiping, back up to your Google account or a computer:
Go to Settings > System > Backup > Back up now.
🔓 2. Remove Google Account and Other Accounts
This disables Factory Reset Protection (FRP), which can block new users:
Settings > Accounts (or Passwords & Accounts).
Remove Account.
🔄 3. Perform a Factory Reset
This deletes all apps, settings, and personal data:
Settings > System > Reset options > Erase all data (factory reset).
Settings > General Management > Reset > Factory Data Reset
🔁 4. Let the Reset Complete
The device will reboot and show the initial setup screen—now clean and ready for donation.
🔍 5. (Optional) Remove the Device from Your Google Account Remotely
If you forgot to remove your Google account:
Google Find My Device
Erase Device, then Remove from Account
Erase iPad/ Tablet Data
🧽 Erase Data from an iPad (Apple)
✅ 1. Back Up Your Data (Optional)
Settings > [your name] > iCloud > iCloud Backup > Back Up Now
Connect to a Mac/PC and select Back Up Now
🔓 2. Sign Out of iCloud and Apple ID
Settings > [your name] > Sign Out
🧯 3. Erase All Content and Settings
Settings > General > Transfer or Reset iPad > Erase All Content and Settings
📦 4. Remove iPad from iCloud (Optional)
iCloud.com, go to Find iPhone, select your iPad, and choose Remove from Account
🧽 Erase Data from an Android Tablet
✅ 1. Back Up Important Data
(or use Google One/cloud services)
🔓 2. Remove Google & Other Accounts
(or Users & Accounts)
Remove Account
🧯 3. Factory Reset the Tablet
🧼 4. Remote Cleanup (Optional)
Google Find My Device to erase or remove the tablet remotely
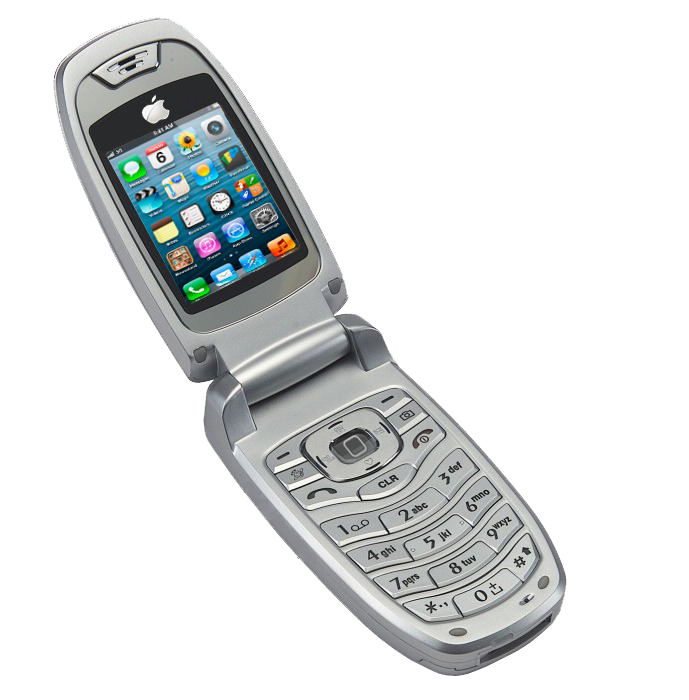
Erase Flip Phones Data
Erasing data from a flip phone before donating it depends on the make and model, but here’s a general guide that works for most basic phones (non-smartphones):
🔄 General Steps to Erase Flip Phone Data
✅ 1. Back Up Contacts & Messages (If Needed)
Use a microSD card or PC connection (if supported).
Some carriers (like Verizon or AT&T) offer tools to sync contacts to the cloud.
🔓 2. Remove SIM and microSD Cards
Power off the phone and physically remove:
SIM card (stores your number and some contacts)
microSD card (may contain photos, videos, or downloads)
🧯 3. Perform a Factory Reset
Most flip phones have this option in their settings:
Steps:
Menu > Settings > Phone Settings (or Device Settings)
Look for Reset, Master Reset, or Factory Reset
Select it, enter a password if required (often the last 4 digits of your phone number), and confirm
The phone will restart and wipe all user data
📌 Tip: Search for “[Your Flip Phone Model] factory reset” online for exact steps.
🧼 4. Delete Personal Info Manually (Optional but Smart)
If no full reset is available:
Manually delete:
Contacts
Messages
Photos/Videos
Call logs
Browser history


